Deployment
You can follow the steps below to complete the Microsoft Hyper-V deployment and setup, but please contact us if you have any questions or require more support.
Note: the following steps represent deployment via Hyper-V version: 10.0.42621.1
- Launch Hyper-V Manager by searching via the search menu.
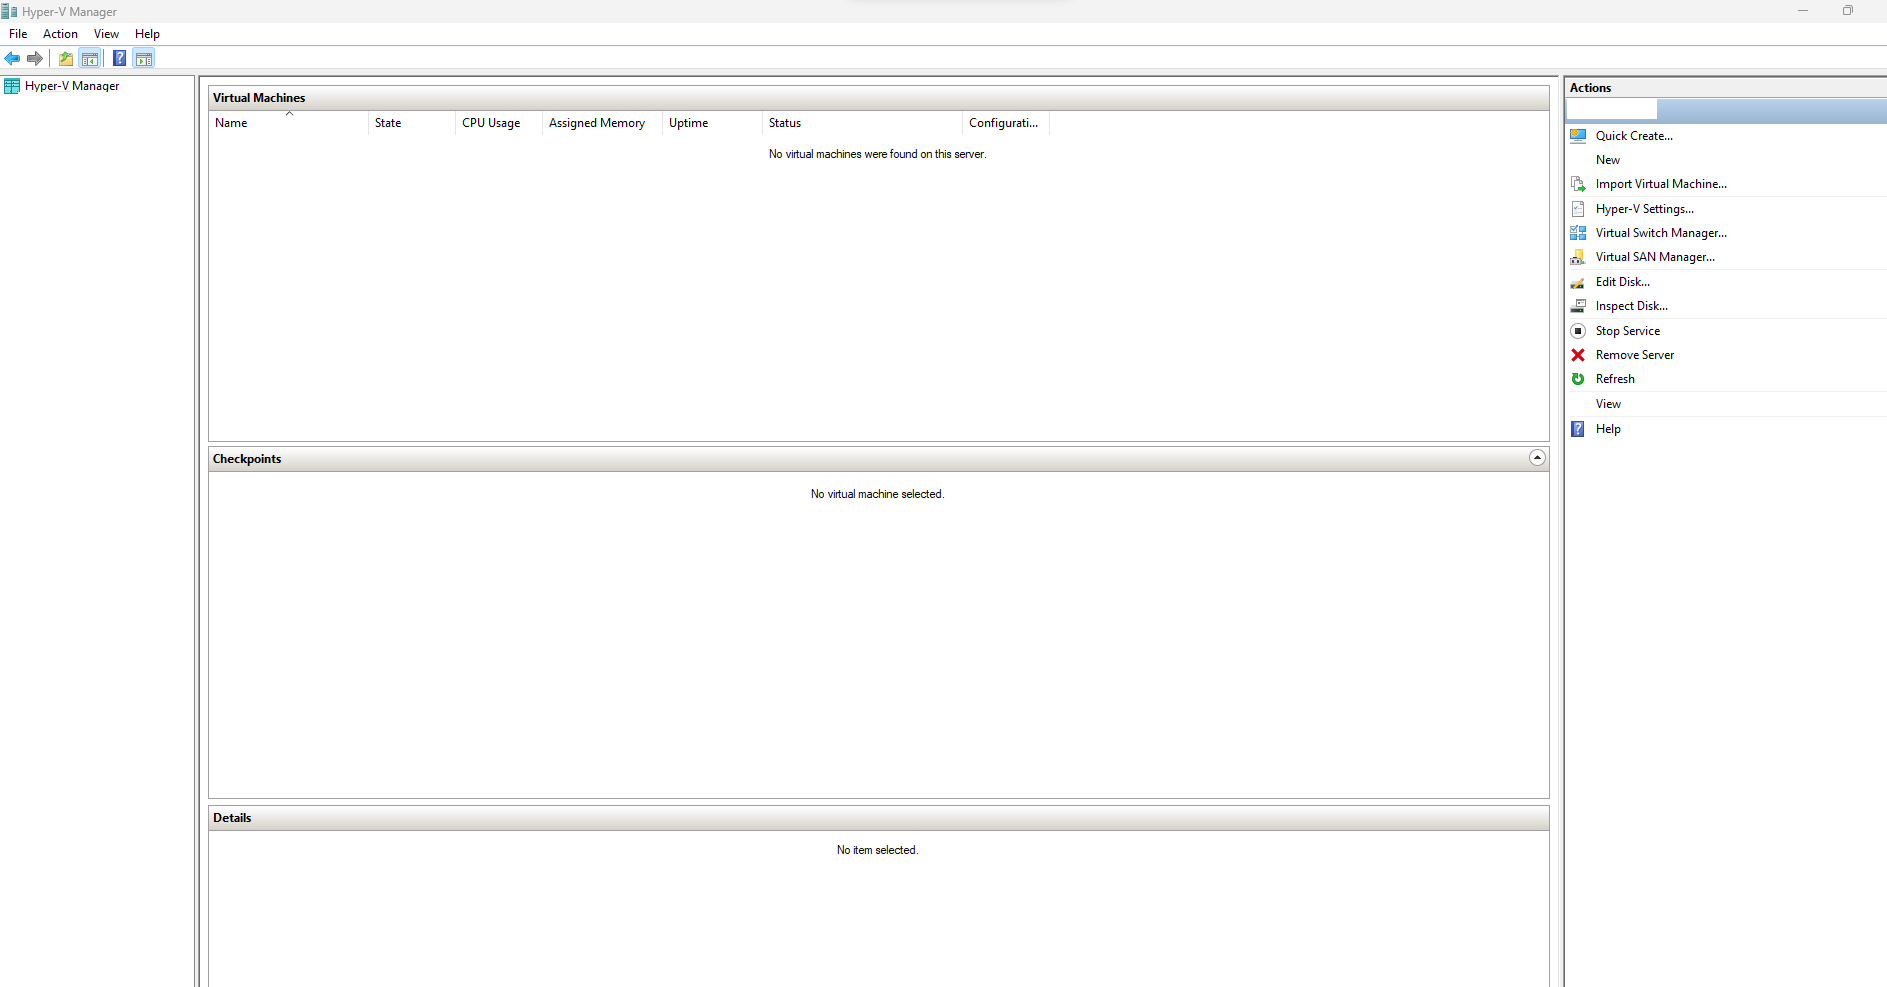
- In the Hyper-V Manager, select Actions from the right hand menu then click New and then Virtual machine. This launches the New virtual machine wizard.
-
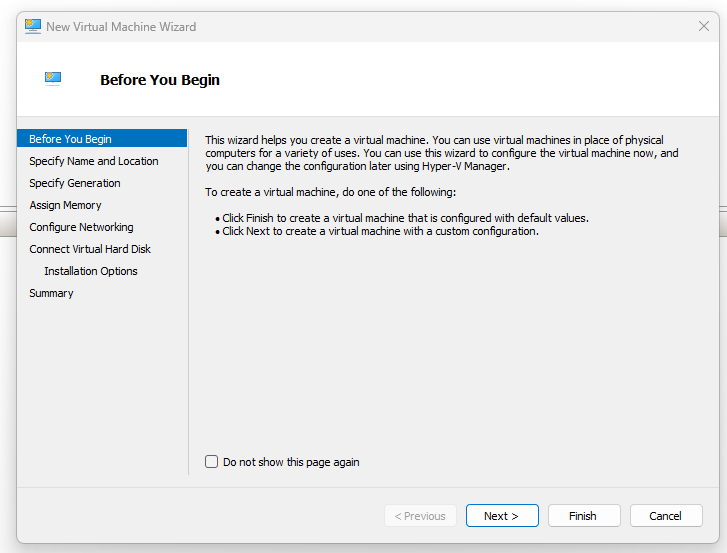
Click Next > to create a new custom configured virtual machine.
-
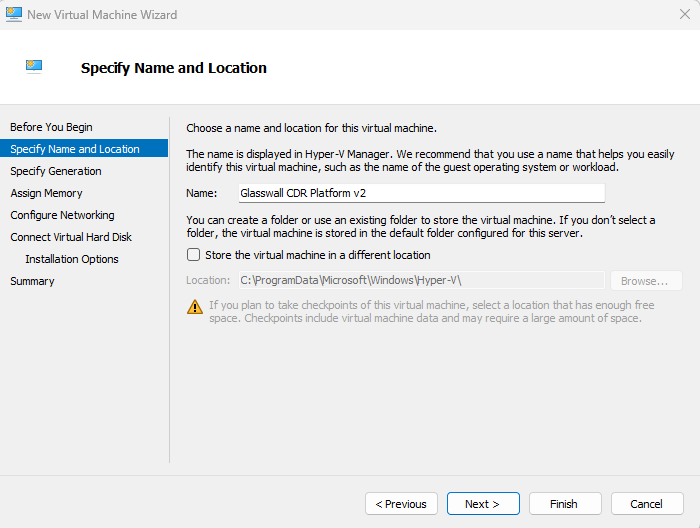
From the Specify name and location section, enter a Name for your new virtual machine and select a location where you want to store it (we left it as unchecked).
Note: the location needs to have sufficient storage space for the virtual machine and its virtual hard disk.
-
Click Next >.
-
From the Specify generation section, select Generation 1.
-
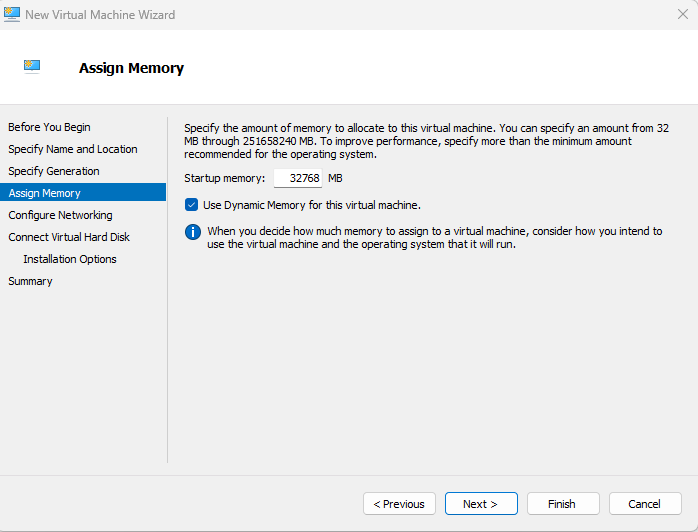
From the Assign memory section, assign the sufficient Startup memory allocated to the virtual machine, suitable for Glasswall Halo.
Note: minimum: 32 GB (32768 MB)
-
Click Next >.
-
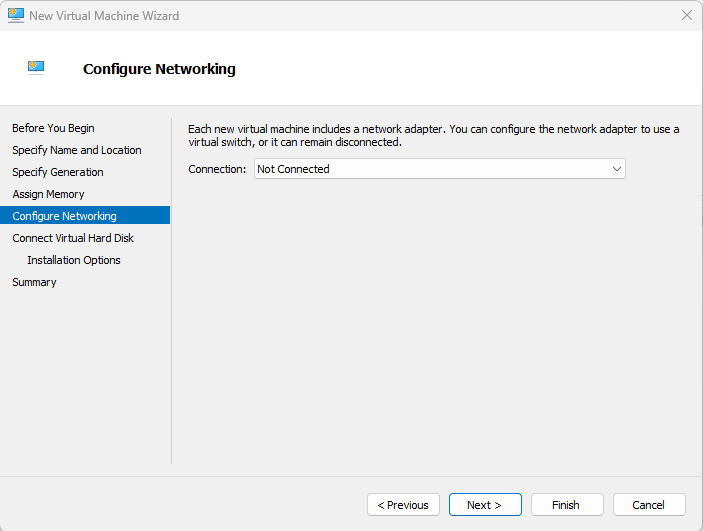
From the Configure networking section, select the appropriate Connection.
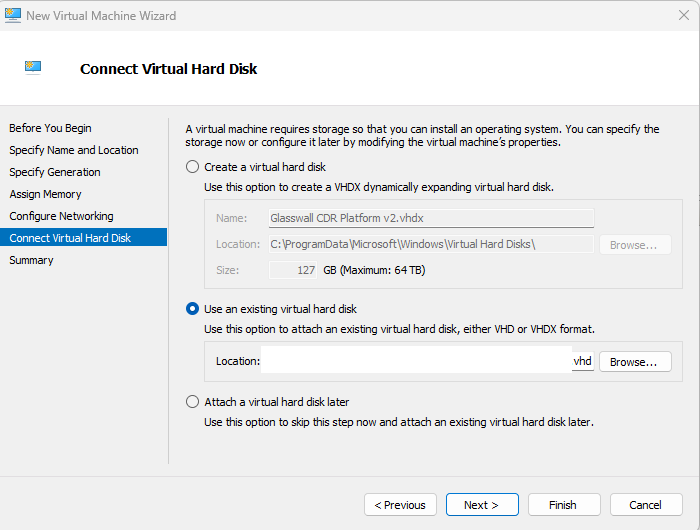
- From the Connect virtual hard disk section, select the Use an existing virtual hard disk option and then browse to the location where you have saved your Glasswall Halo v2 VHD file.
-
Once you have selected the file, click Next >.
-
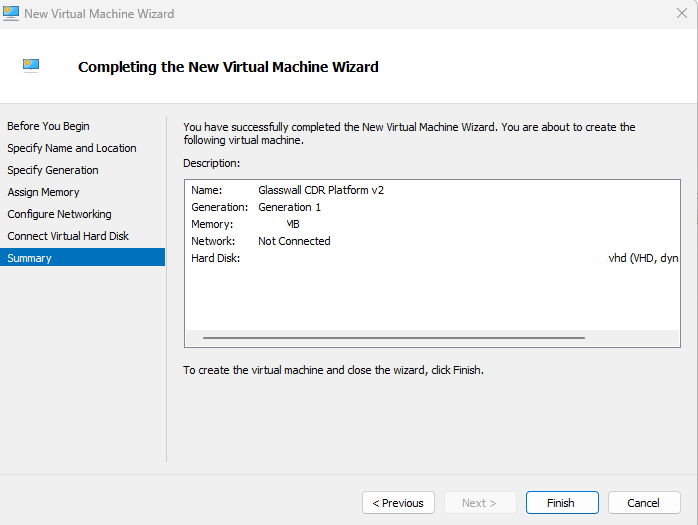
From the Summary section, review your settings and click Finish to complete the wizard setup.
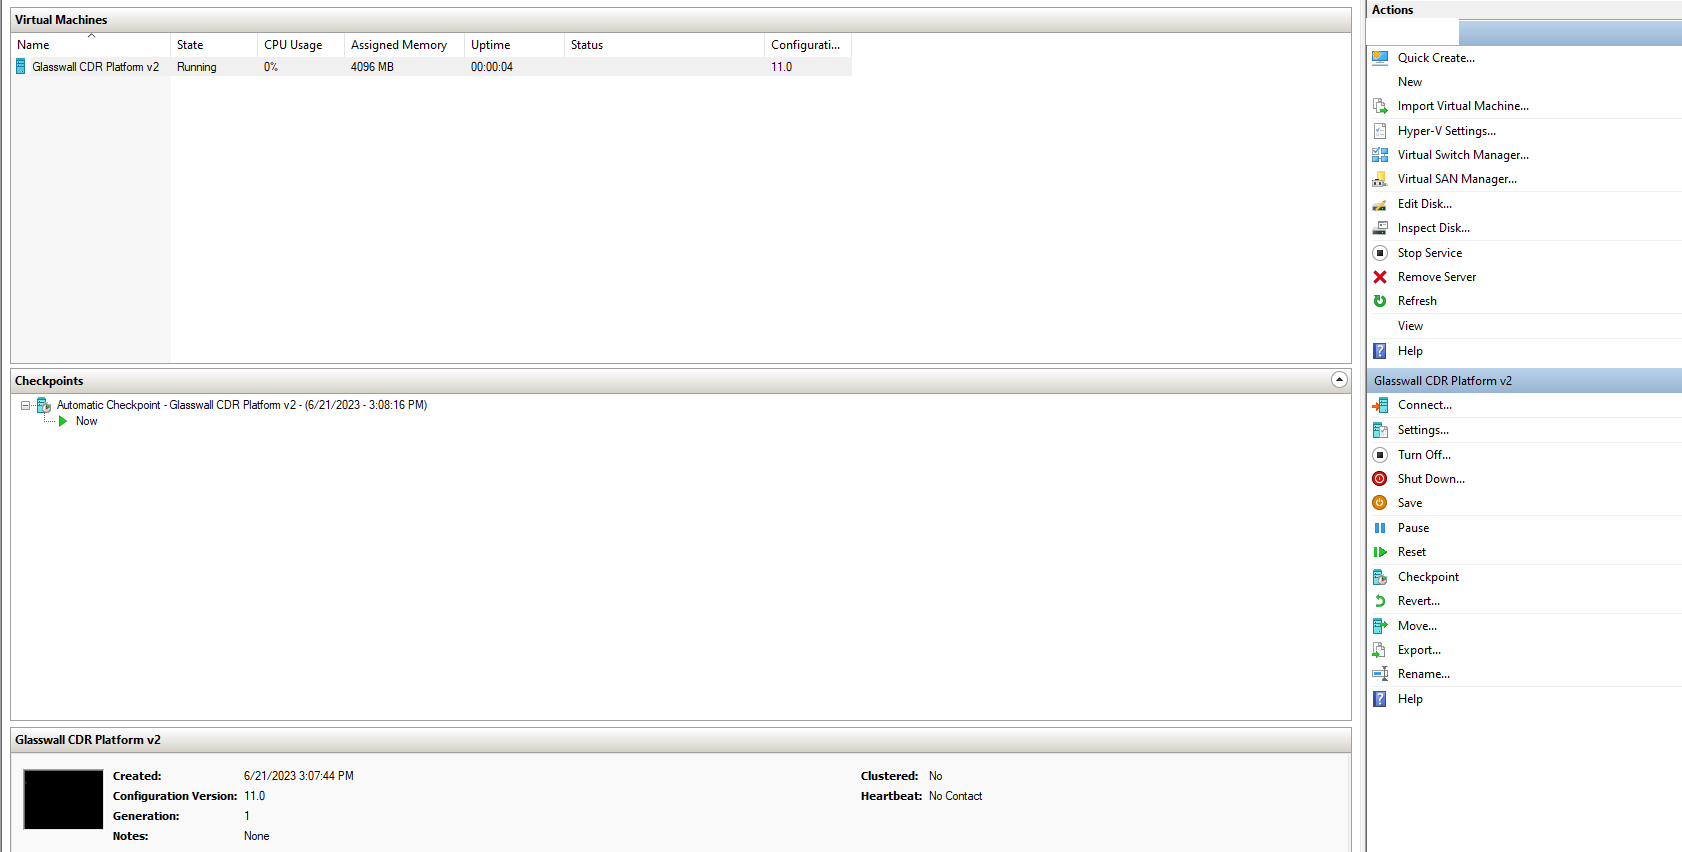
Launch virtual machine
Before starting the machine make sure the VM has assigned 16 CPUs configured in order to be able to run the services
In the Hyper-V Manager, under Virtual machines, your newly created Glasswall Halo v2 virtual machine is displayed.
- Right click the virtual machine and click Start or click Start from the right hand menu.
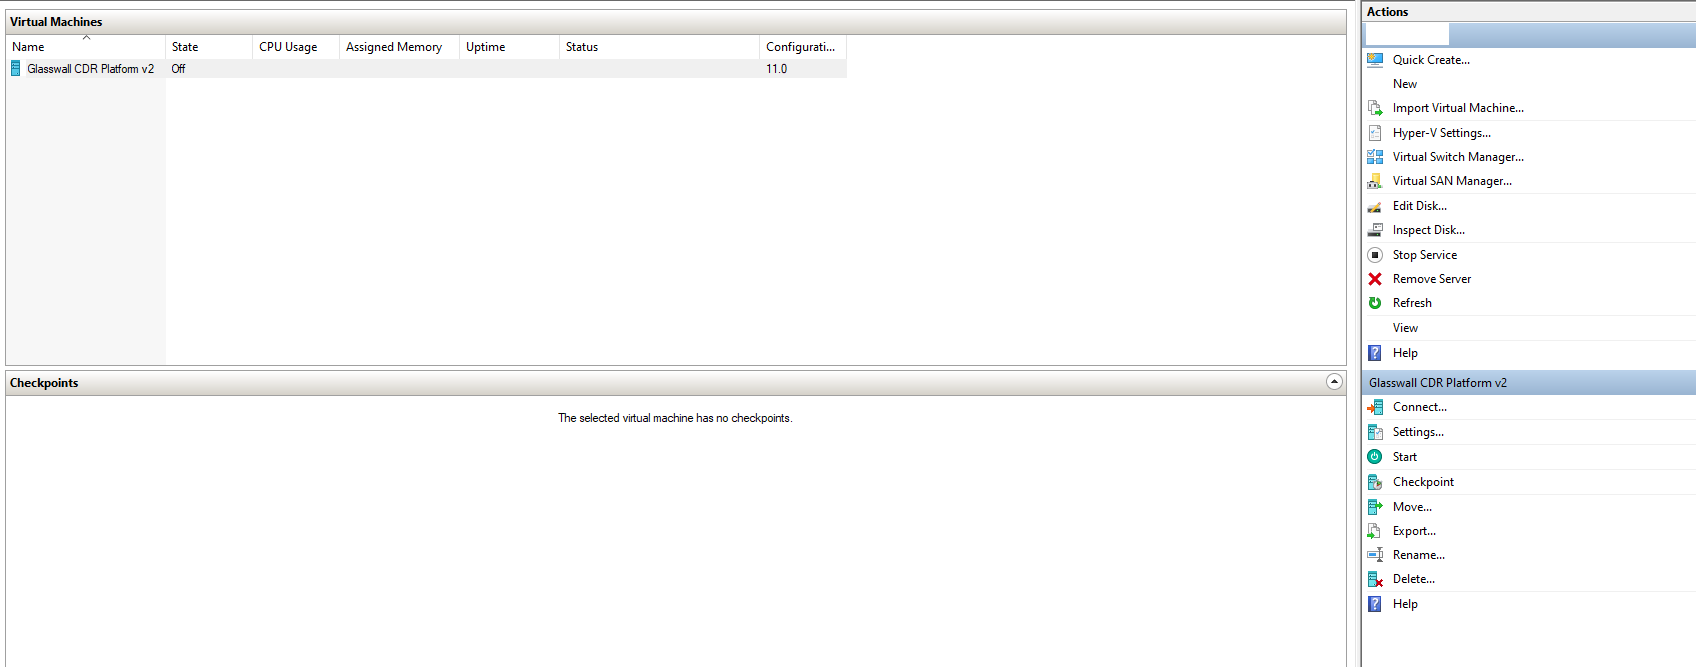
- Your newly created virtual machine state should be running which indicates it's ready to connect. Right click and click Connect or click Connect from the right hand menu.
- Login with your provided credentials.
Password change
- For security purposes, you are required to change the default password shared from Glasswall upon your first login. Once the shared credentials are added, add a new password for the virtual machine.
Note: your new password should be at least 15 characters long, with a combination of uppercase letters, lowercase letters, numbers, and special characters. There also shouldn't be any repeating characters.
Network manager configuration
- For static IP: follow the Network Manager configuration guide to continue Halo setup. Return here when finished.
- For DHCP: ensure your DHCP server is operational.
Initiate Glasswall Halo services
Note: if your network has a DHCP server, this step can be skipped as the RKE2 server will be started automatically by cloud-init.
- Execute the following command to launch Glasswall Halo:
sudo bash start_halo.sh
- Confirm all of the Glasswall Halo services and pods are running with the following command: :
kubectl get pods
Note: there might be some old pods in fail state present. This won't have any effect in the VMs functionality
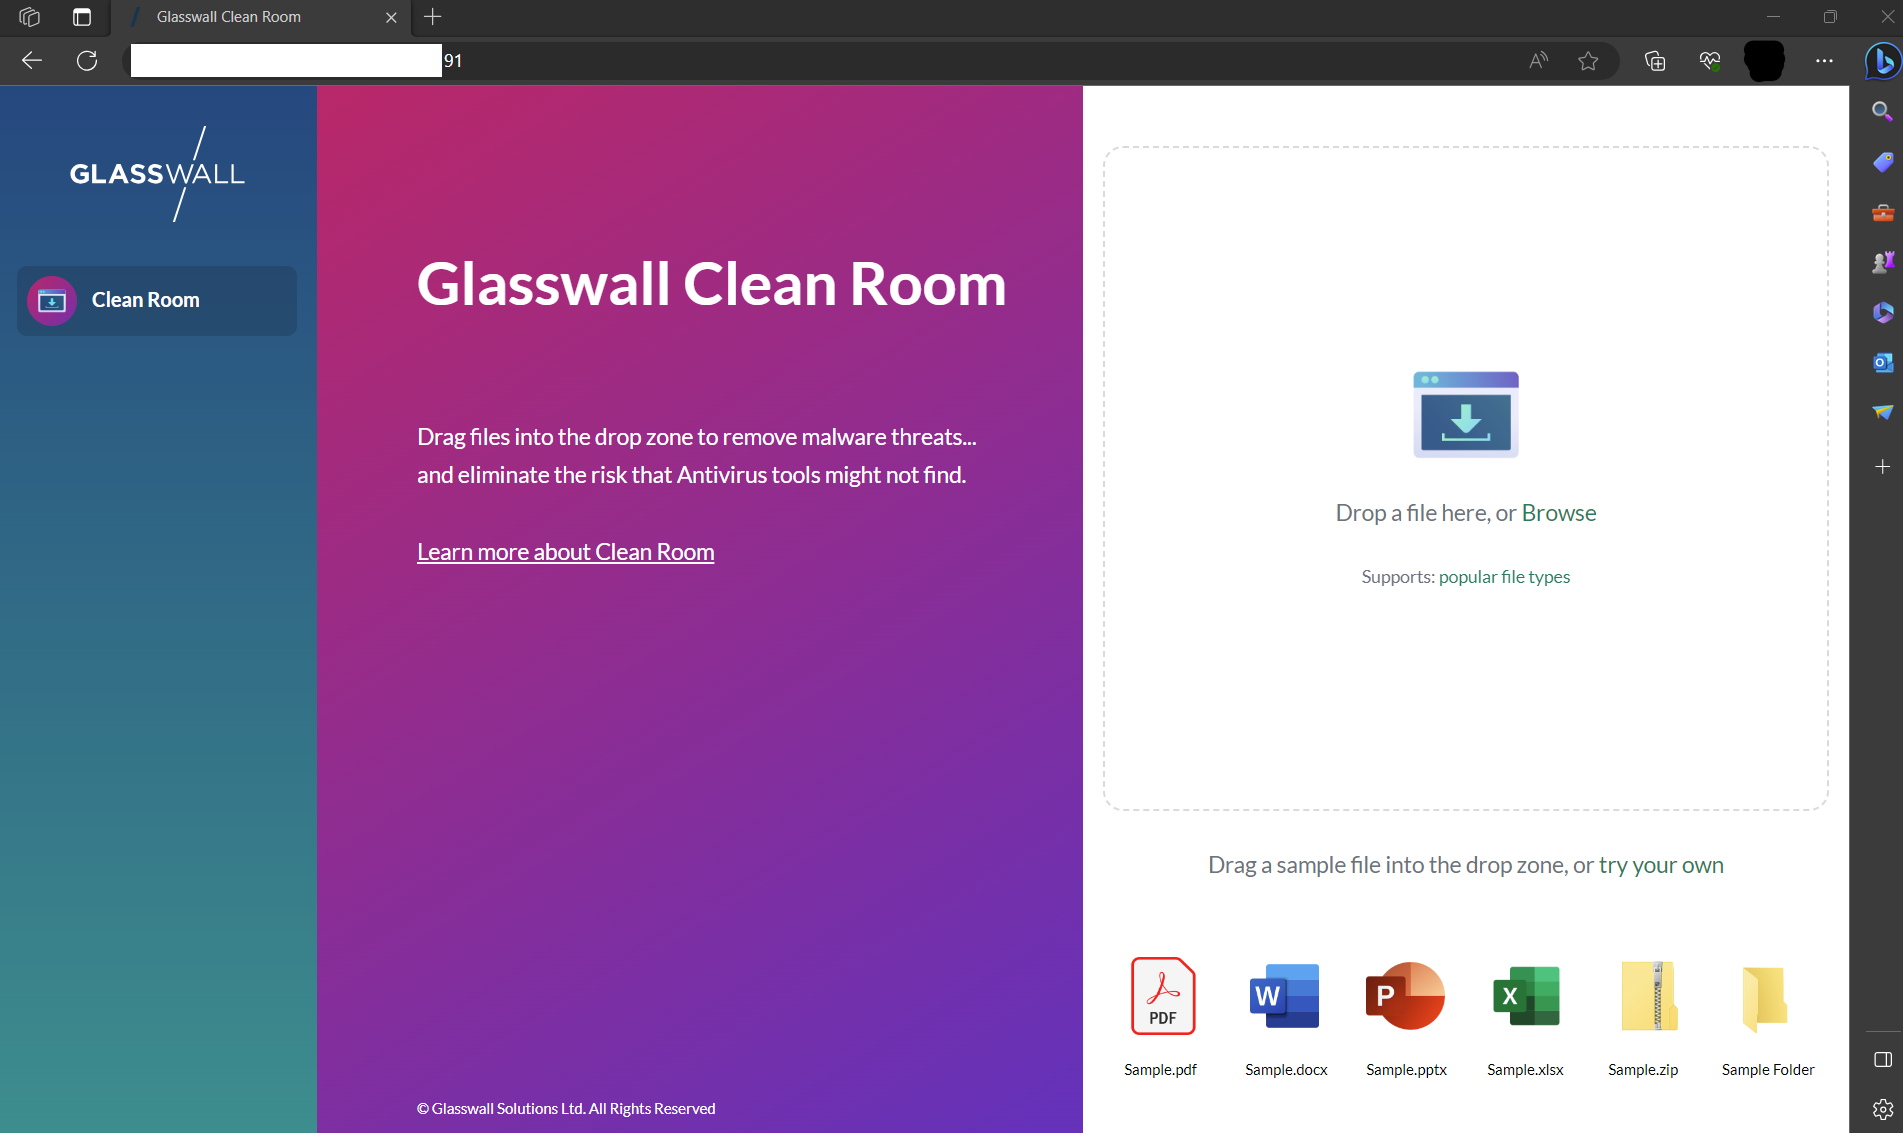
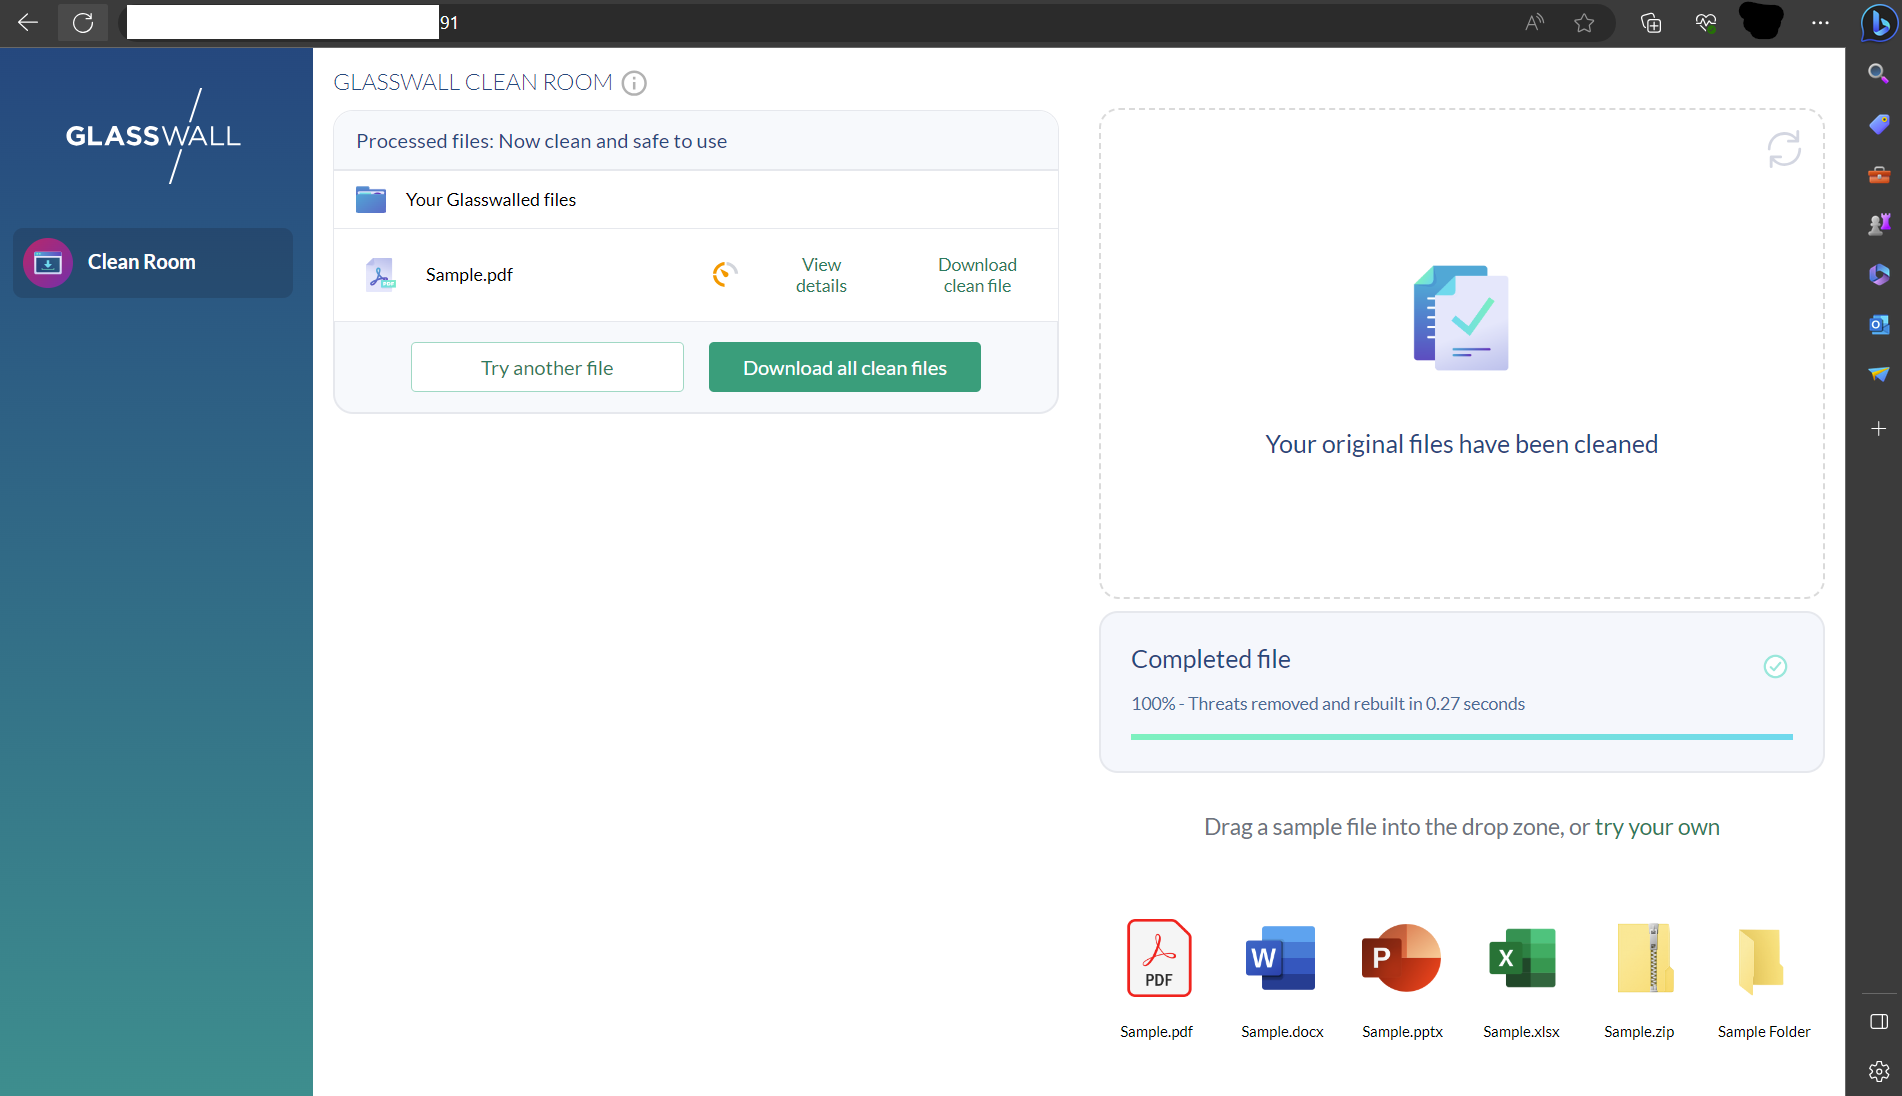
Access Glasswall Halo Portal
-
Depending on your network configuration and/or domain configuration, you can now access the Halo Portal through the domain name and/or IP address assigned to your virtual machine.
-
Run the following command to confirm network status:
sudo netstat -tlnp
Access Glasswall Swagger API endpoints
Navigate to the following to access the Glasswall Halo API endpoints:
https://[your domain or IP]/swagger/index.html
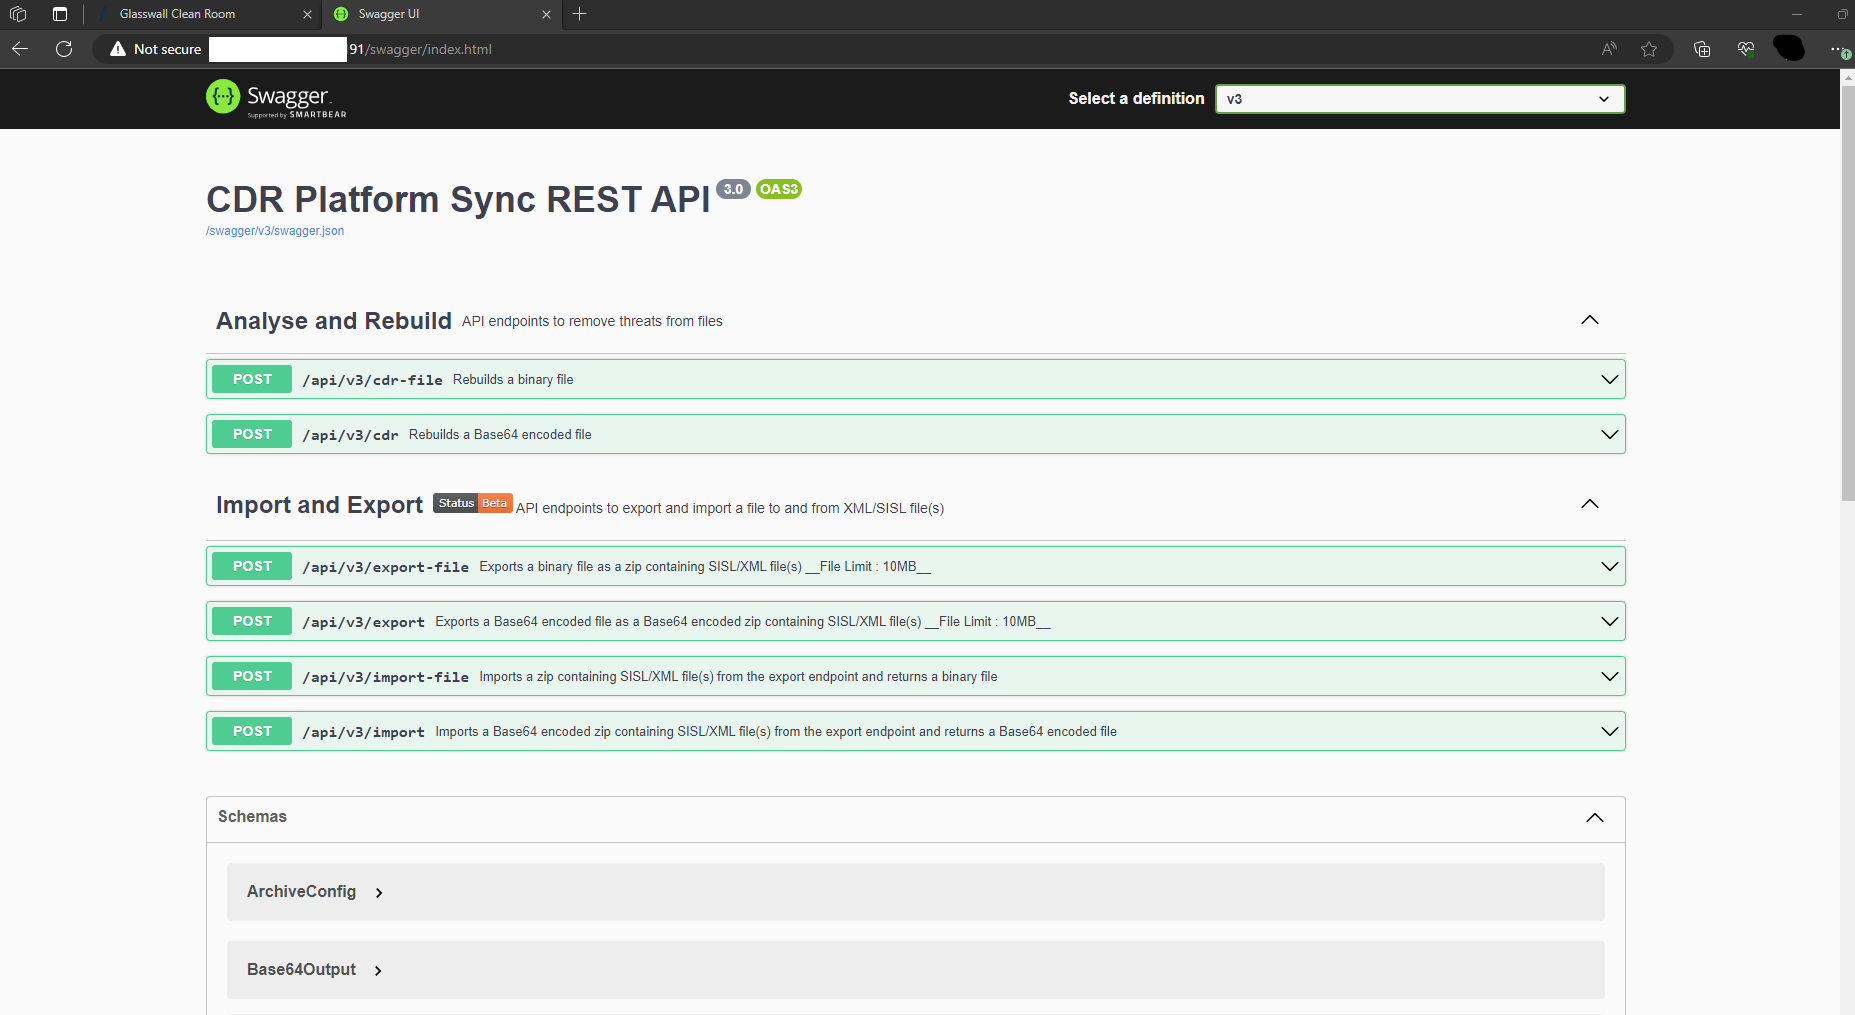
Note: don't forget to enter your own domain or IP address into the URL.
Validating deployment
You are able to validate the deployment by using our API Health Check feature.