Step 1 - Create Instance
To deploy an EC2 instance with Glasswall Halo using the Glasswall Halo AMI, follow the steps below.
Prerequisites
- AWS account
- Permissions to deploy an EC2 instance
- Basic knowledge of Linux
Create instance
Steps to deploy an EC2 instance with Glasswall Halo
-
Log in to AWS.
- Navigate to the EC2 service and click Launch instance.
- Navigate to the EC2 service and click Launch instance.
-
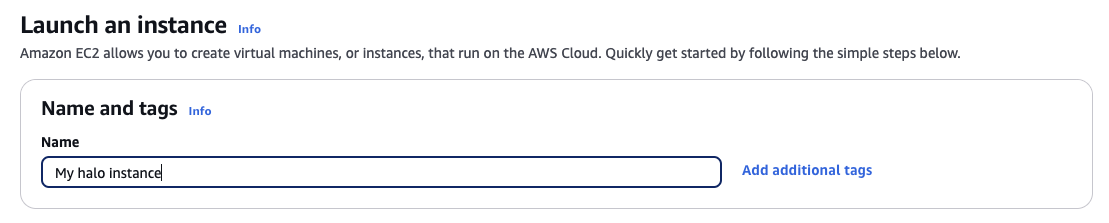
Name the instance.
- Enter a name for your instance, e.g., my Halo instance.
-
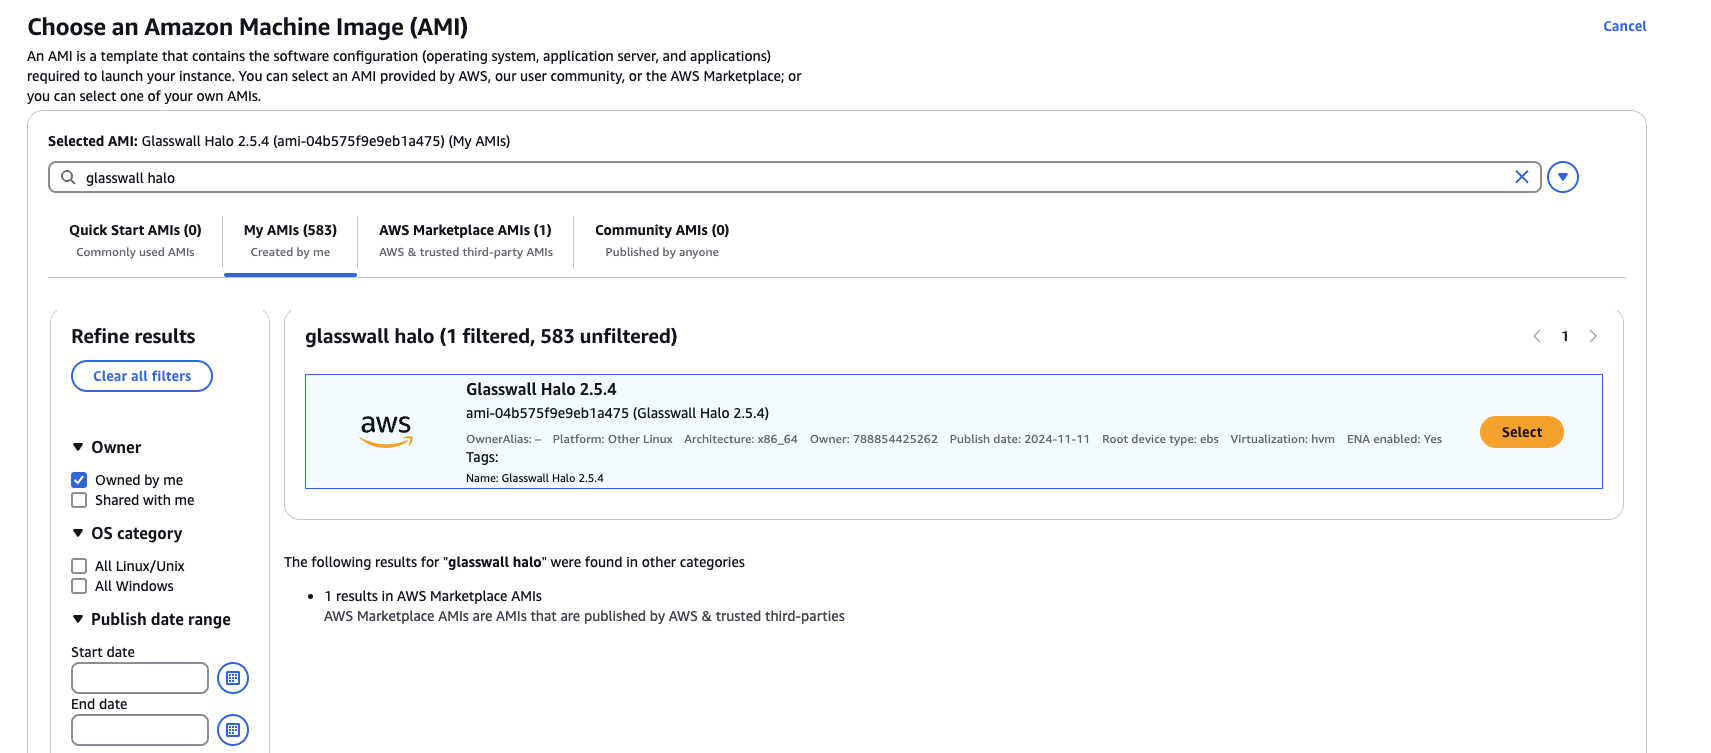
Select the Glasswall Halo AMI.
- Click Browse more AMIs, search for Glasswall Halo, and select the Glasswall Halo 2.5.4 AMI.
- Click Browse more AMIs, search for Glasswall Halo, and select the Glasswall Halo 2.5.4 AMI.
-
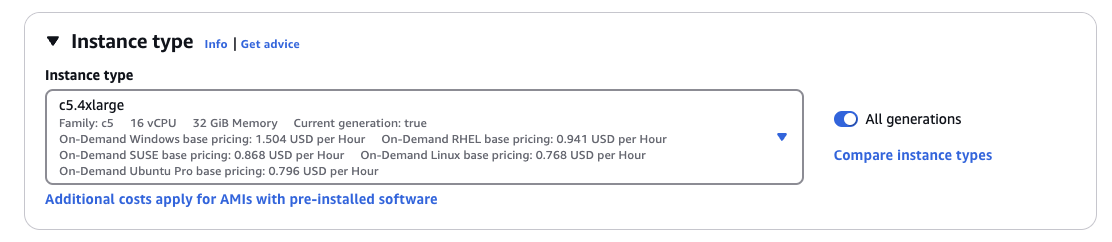
Choose instance type.
- Select an instance type with at least 16 cores and 32 GB memory, e.g., c5.4xlarge.
- Select an instance type with at least 16 cores and 32 GB memory, e.g., c5.4xlarge.
-
Set up a key pair.
- Select or create a key pair to securely log in to the instance using a private key.

- Select or create a key pair to securely log in to the instance using a private key.
-
Configure network settings.
- Choose your desired VPC and Subnet.

- Choose your desired VPC and Subnet.
-
Set up security group.
- Create a security group to allow inbound access on:
- Port 22 for SSH
- Port 443 for the Halo API
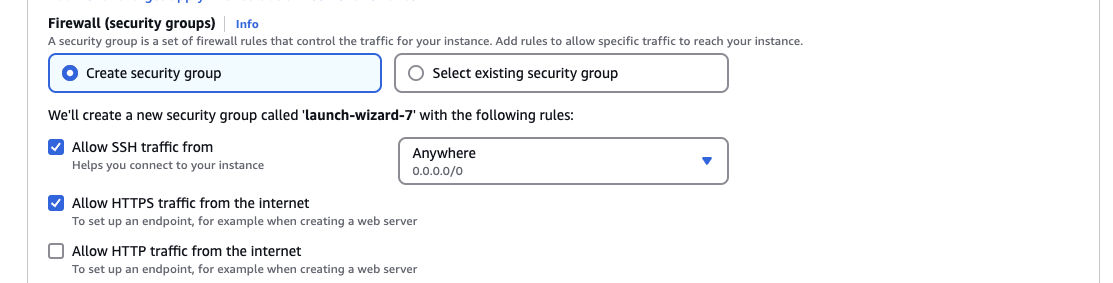
- Create a security group to allow inbound access on:
-
Update storage.
- Increase storage to 500 GB.
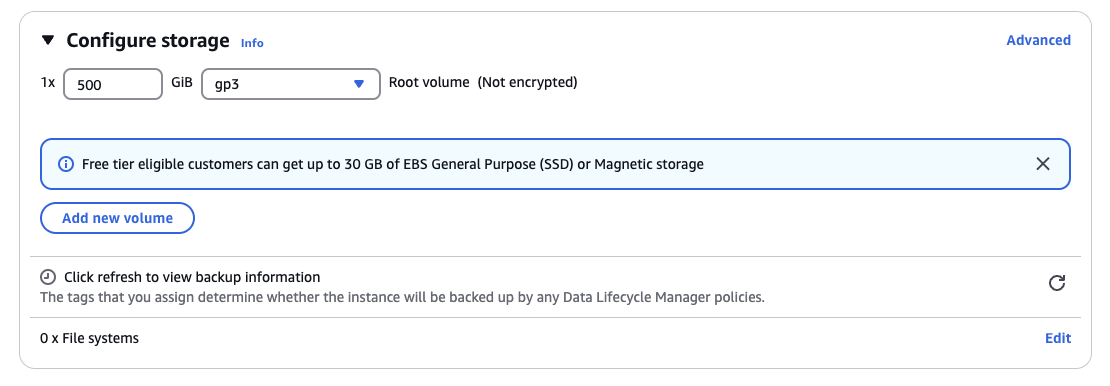
- Increase storage to 500 GB.
-
.Launch the instance.
- Click
launch instanceto complete the setup.
- Click