You can follow the steps below to complete the VMware deployment and setup, but please contact us if you have any questions or require more support.
-
Login to your VMware ESXi console.
-
In the Virtual Machines page in ESXi select Create / Register VM to open the new virtual machine window.
-
Click Select creation type.
-
Select Deploy a virtual machine from OVF or OVA file and click Next.

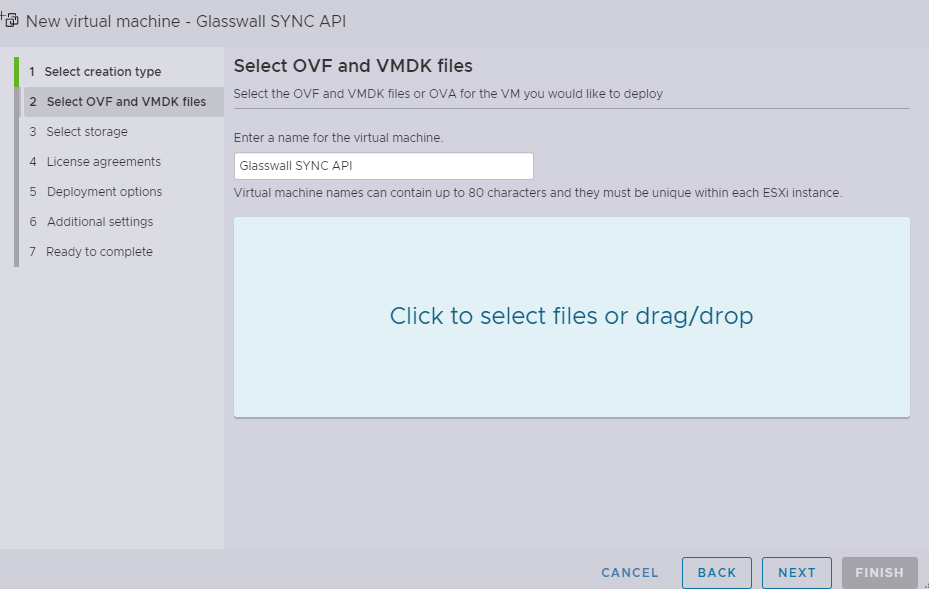
- Click Select OVF and VMDK files.
- Enter a name for your Glasswall Halo VM
- Browse and select the Glasswall Halo v2 OVA provided by Glasswall. Enter an appropriate name for the virtual machine.
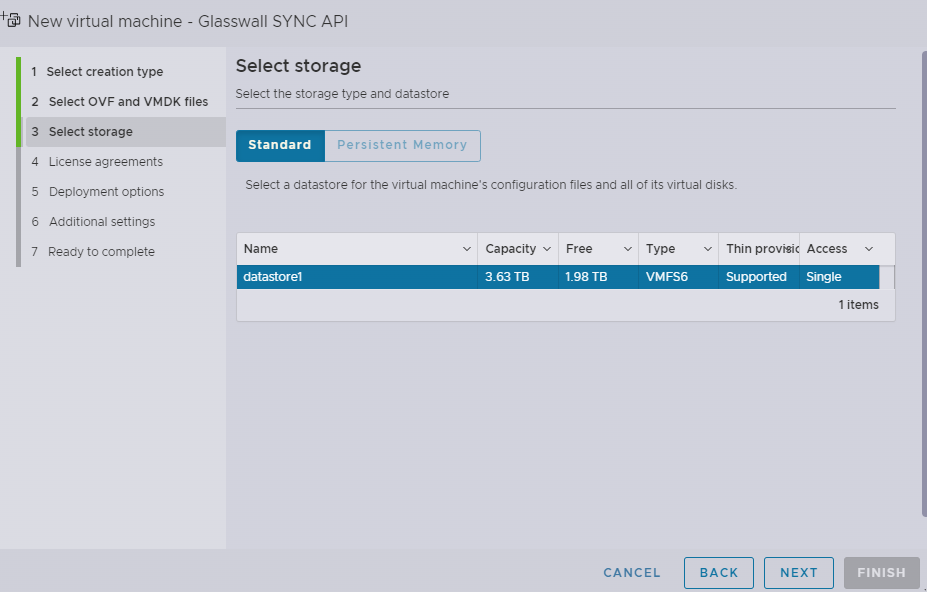
- Click Select storage.
- Select your storage type and datastore
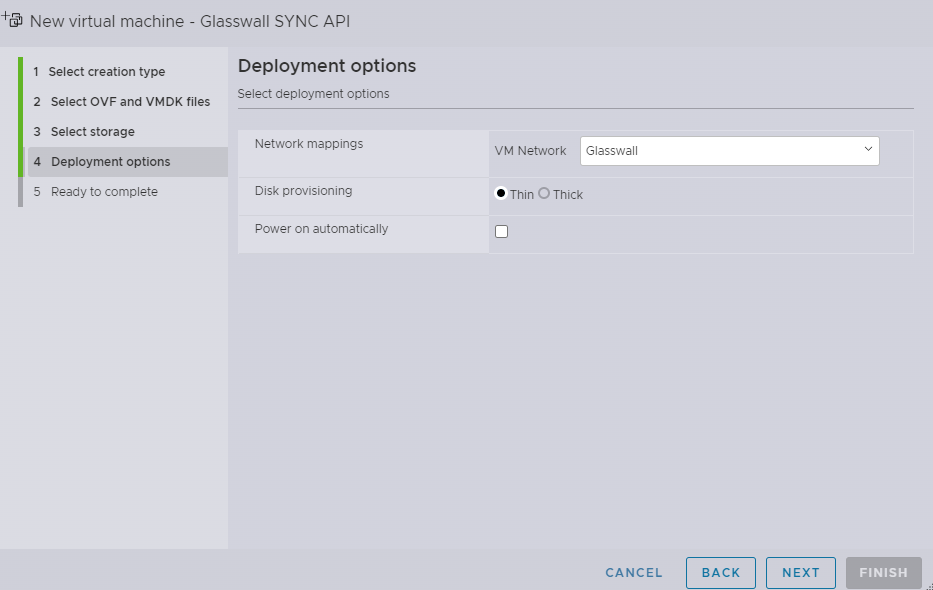
- Click Deployment options.
- Select the appropriate settings for the Network mappings and Disk provisioning.
- Uncheck Power on automatically
-
Click Finish and wait for the import to complete.
-
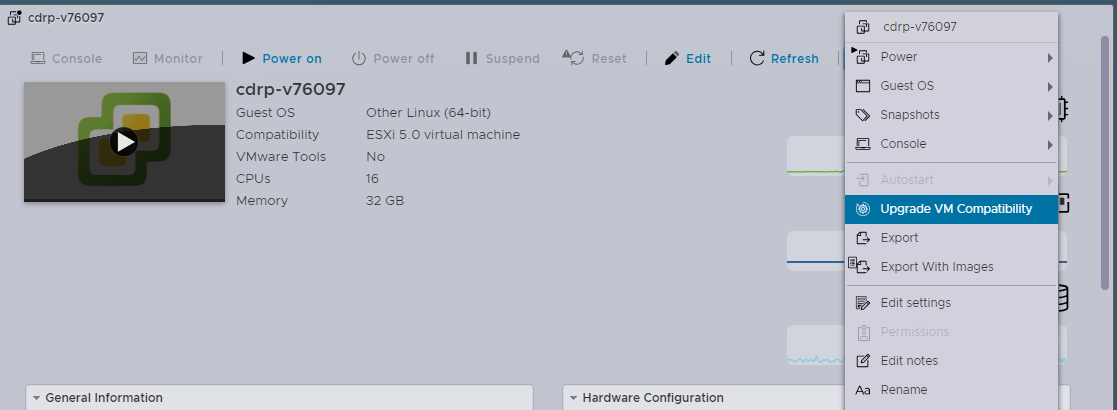
For the best support and feature functionality it is suggested that the image be upgraded to the HOST client OS compatibility.
- Select Upgrade VM Compatibility under the Actions tab.
- Select the appropriate minimum level of compatibility from the drop-down (in our example it is ESXi 6.7/8.0).
Note: this process might negatively impact the performance of other client systems on the host, so it might be best to perform it in less critical windows.
- Please note the acknowledgement of potential performance impact and click Yes.
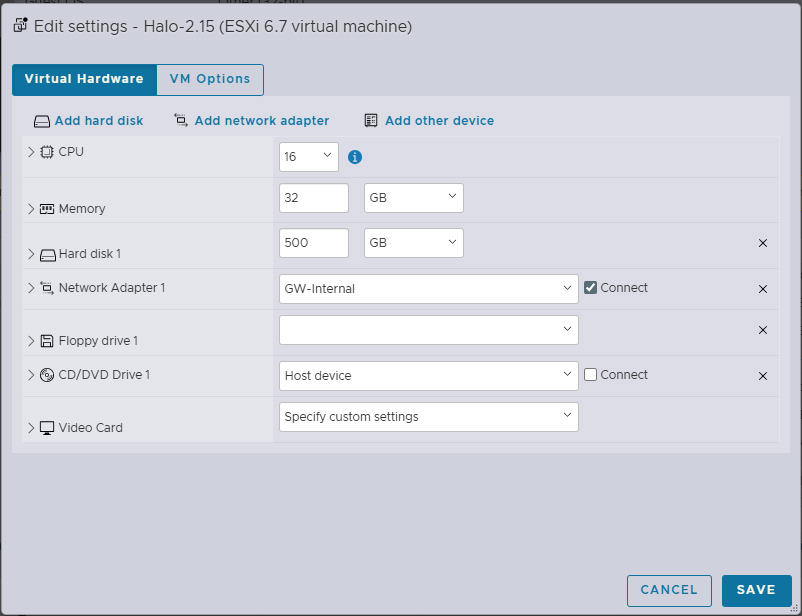
Edit Settings (Virtual Hardware)
- Select Edit Settings and from the Virtual Hardware tab, modify:
- vCPU to (minimum) 16
- Memory to 32 GB Ram
- Hard disk 1 to (minimum) 500 GB SSD/HD.
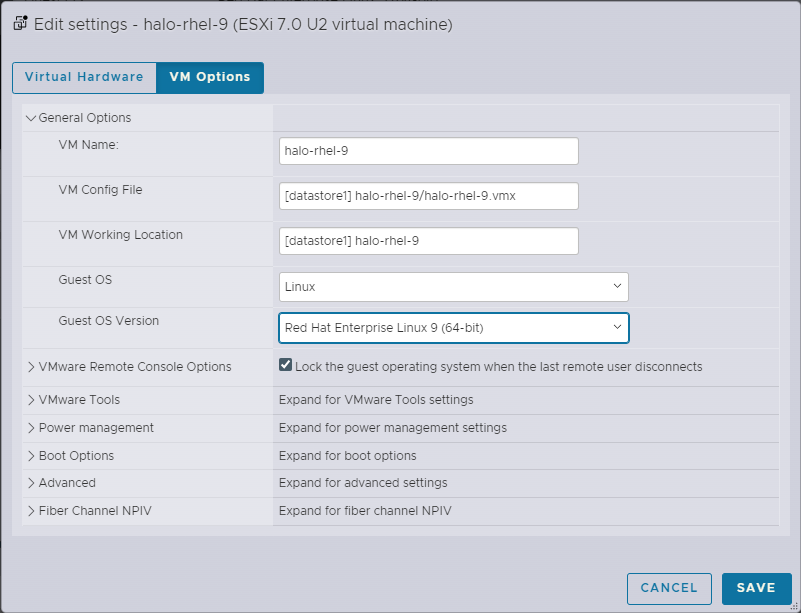
Edit Settings (VM Options)
12a. From the VM Options tab, select General Options to open the menu and adjust the server settings as needed.
Note: With the upgrade completed you can now select the correct Guest Operating System.
- Select Linux as Guest OS and Red Hat Enterprise Linux 9 (64-bit) as the Guest OS Version.
12b. Click Save.
Launch machine
- Verify that the Compatibility, CPUs and Memory allocation are all correct.
- Power on and launch the virtual machine.
- Login with your provided credentials.
Password Change
- For security purposes, you are required to change the default password shared from Glasswall upon your first login. Once the shared credentials are added, add a new password for the virtual machine.
Note: your new password should be at least 15 characters long, with a combination of uppercase letters, lowercase letters, numbers, and special characters. There also shouldn't be any repeating characters.
Network Manager Configuration
Note: if your network has a DHCP server, the virtual machine will be assigned an IP address automatically and this step can be skipped.
Per your network defined configurations and boundaries
- Before configuring the virtual network's network you need to know the MAC address of the ethernet the machine is running.
- Run nmcli in the console to determine which network the virtual machine is using.
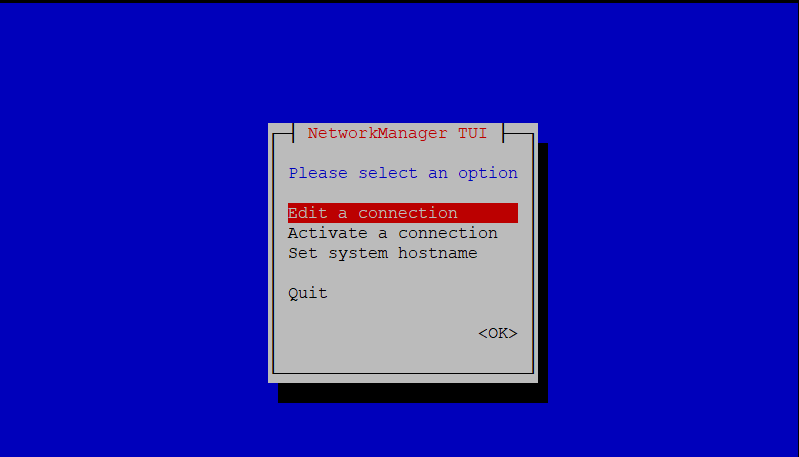
- Once you know which network to edit, run the following command to launch the Network Manager tool and select Edit a connection.
nmtui
- Based on your configuration requirements:
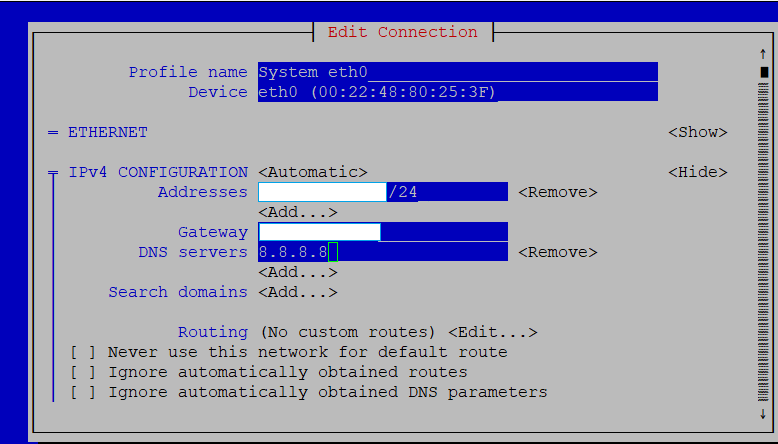
- Add Network Adapter or Edit Connection.
- In our example we edit the connection the virtual machine is using.

- Select Show for the IPv4 Configuration, this will provide options to edit IP Addresses, Gateway, DNS Servers.
Note: if you would like to setup your OVA without internet access, your DNS IP range should be set the same as your VM IP.
- Enter the required information, then scroll to the bottom and click OK.
- Navigate back to theNetwork Manager TUI main screen, then select Activate a connection and ensure your connection is set to activated.
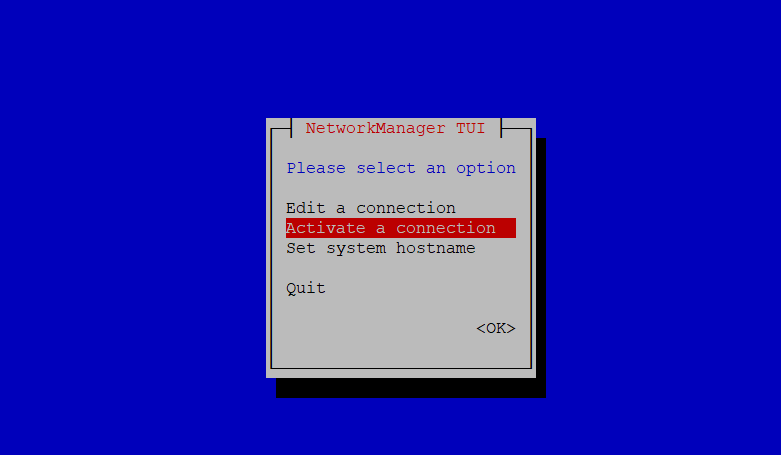

- Exit and execute the following command:
sudo systemctl restart NetworkManager
Initiate Glasswall Halo Services
Note: if your network has a DHCP server, this step can be skipped as the RKE2 server will be started automatically by cloud-init.
- Execute the following command to launch Glasswall Halo:
bash start_halo.sh
- Once the script has completed, confirm all the Glasswall Halo services and Pods are running using the following command:
kubectl get pods
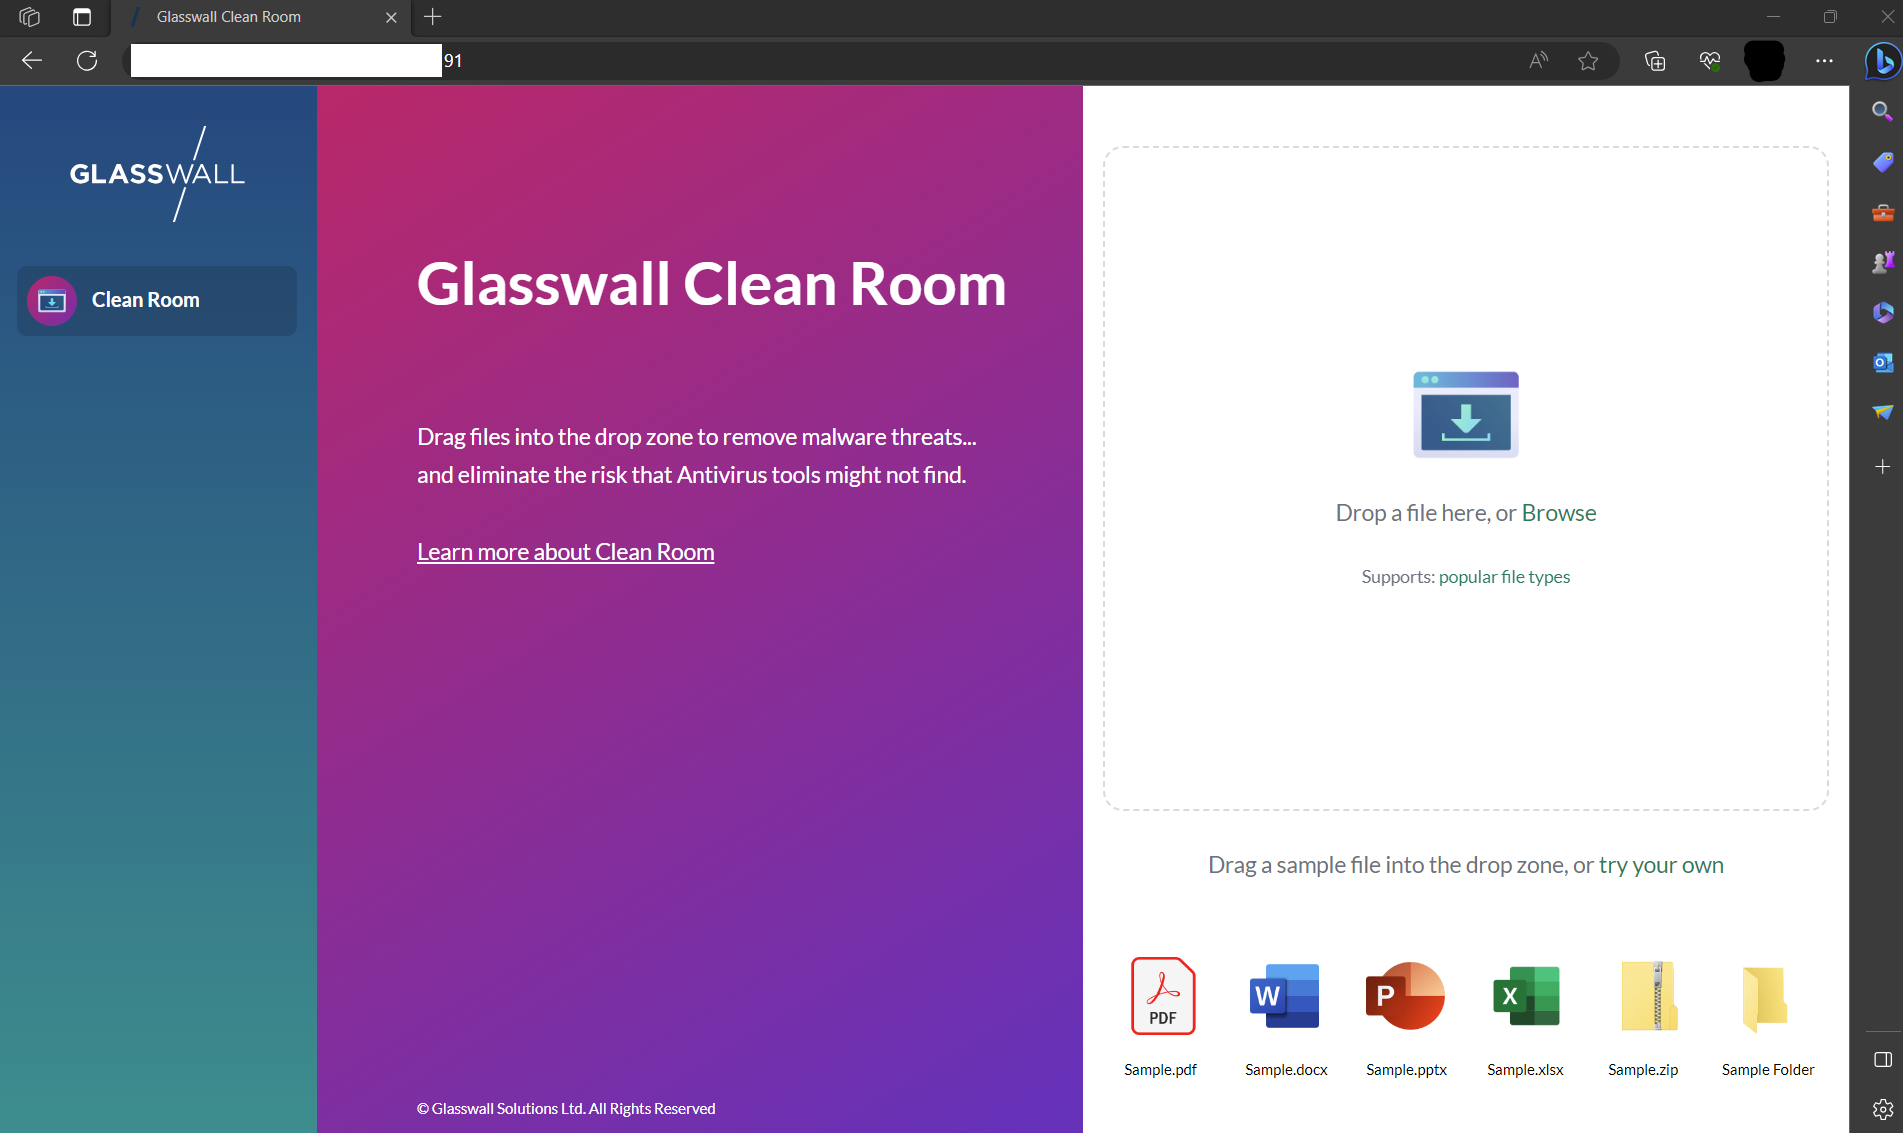
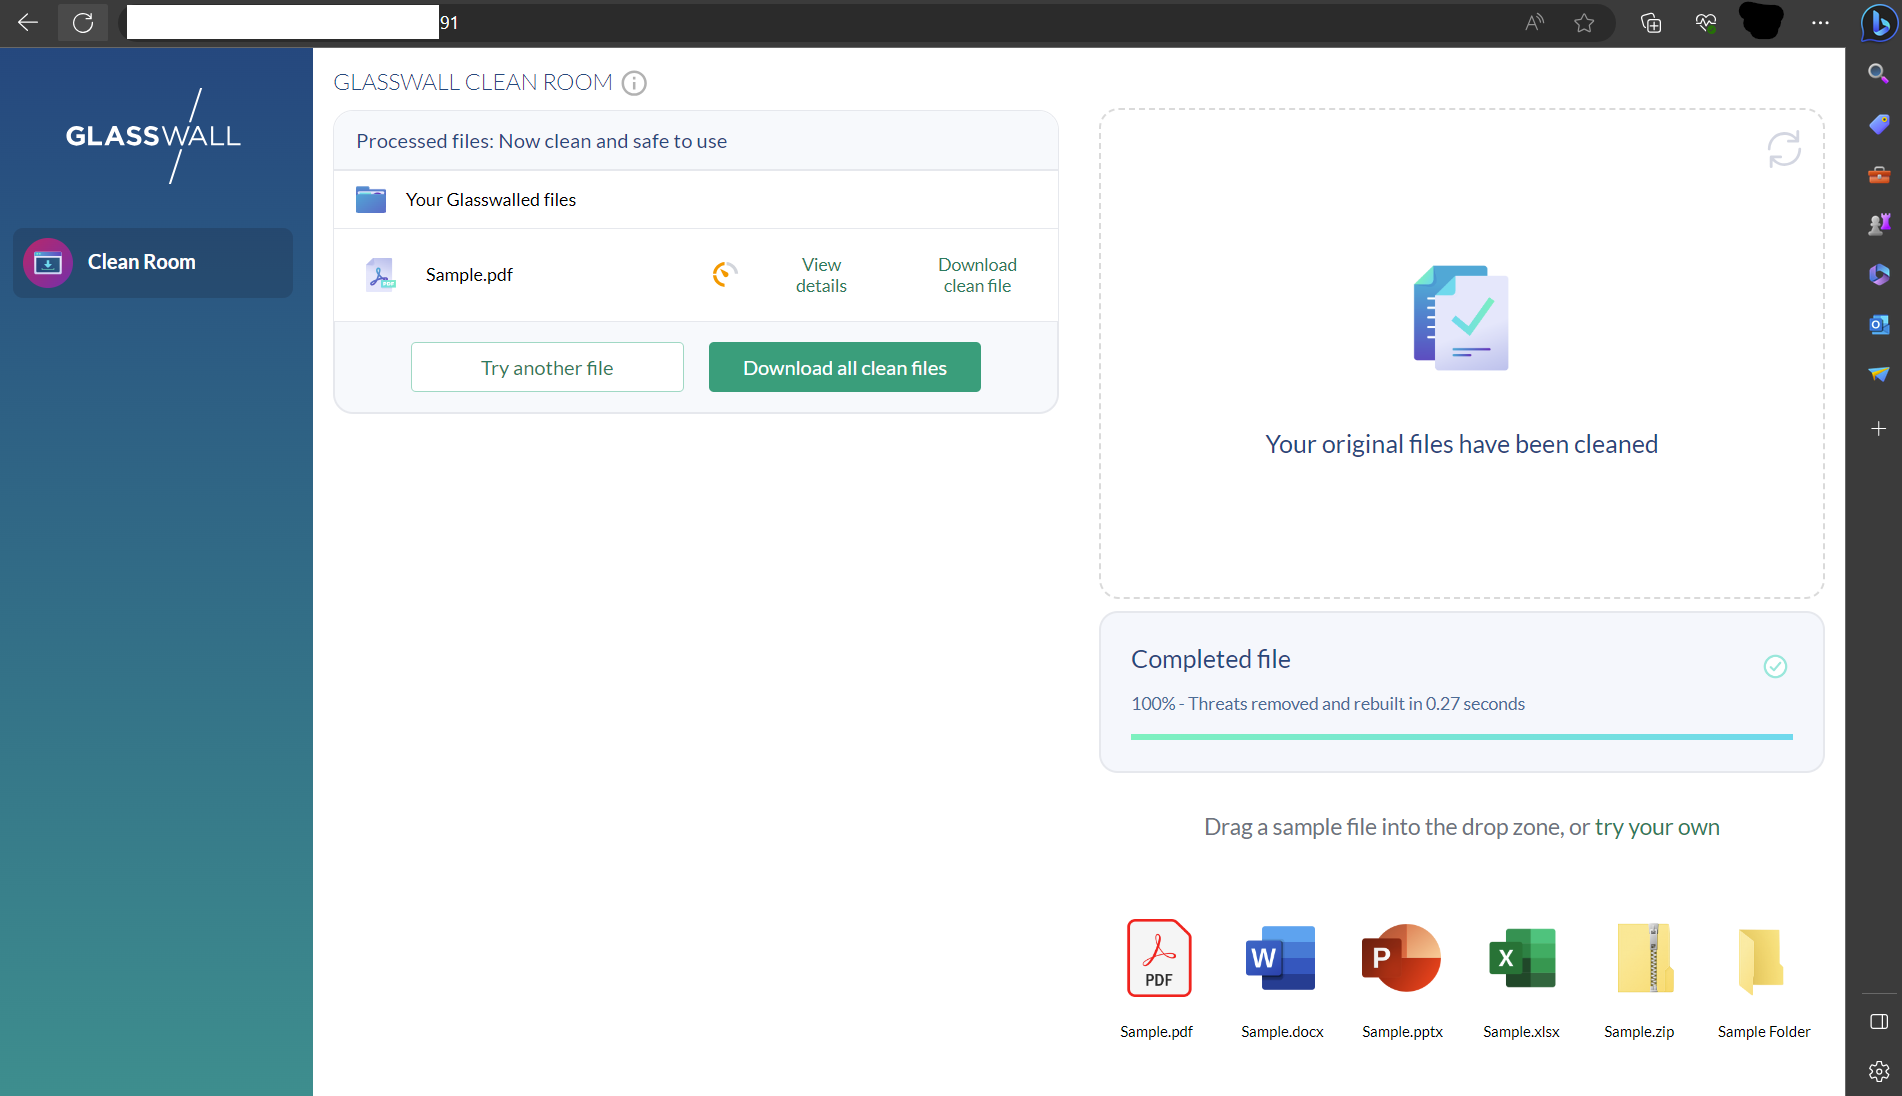
Access Glasswall Clean Room
-
Depending on your network configuration and/or domain configuration, you can now access Clean Room through the domain name and/or IP address assigned to your virtual machine.
-
Run the following command to confirm network status:
sudo netstat -tlnp
Access Glasswall Swagger API Endpoints
Navigate to the following URL to access the Glasswall Halo API endpoints:
https://[Your Domain or IP]/swagger/index.html
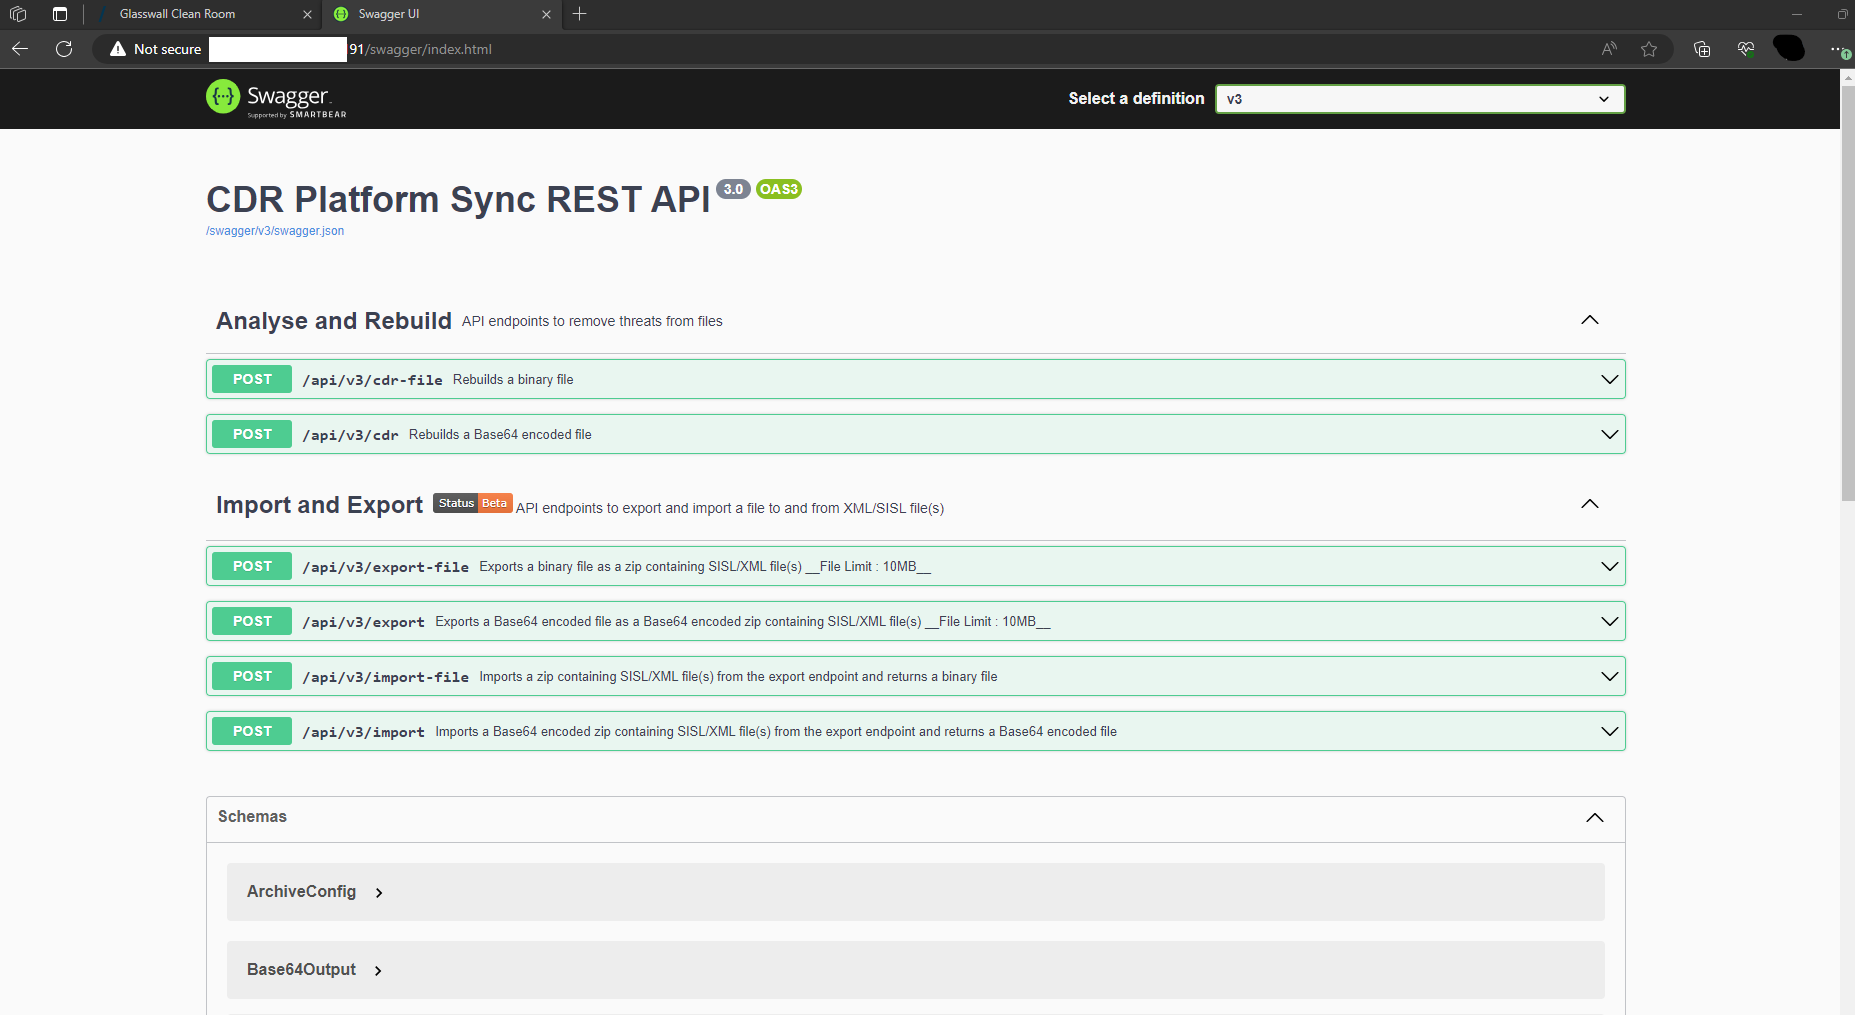
Note: don't forget to enter your own domain or IP address into the URL.
Validating Deployment
You are able to validate the deployment by using our API Health Check feature.